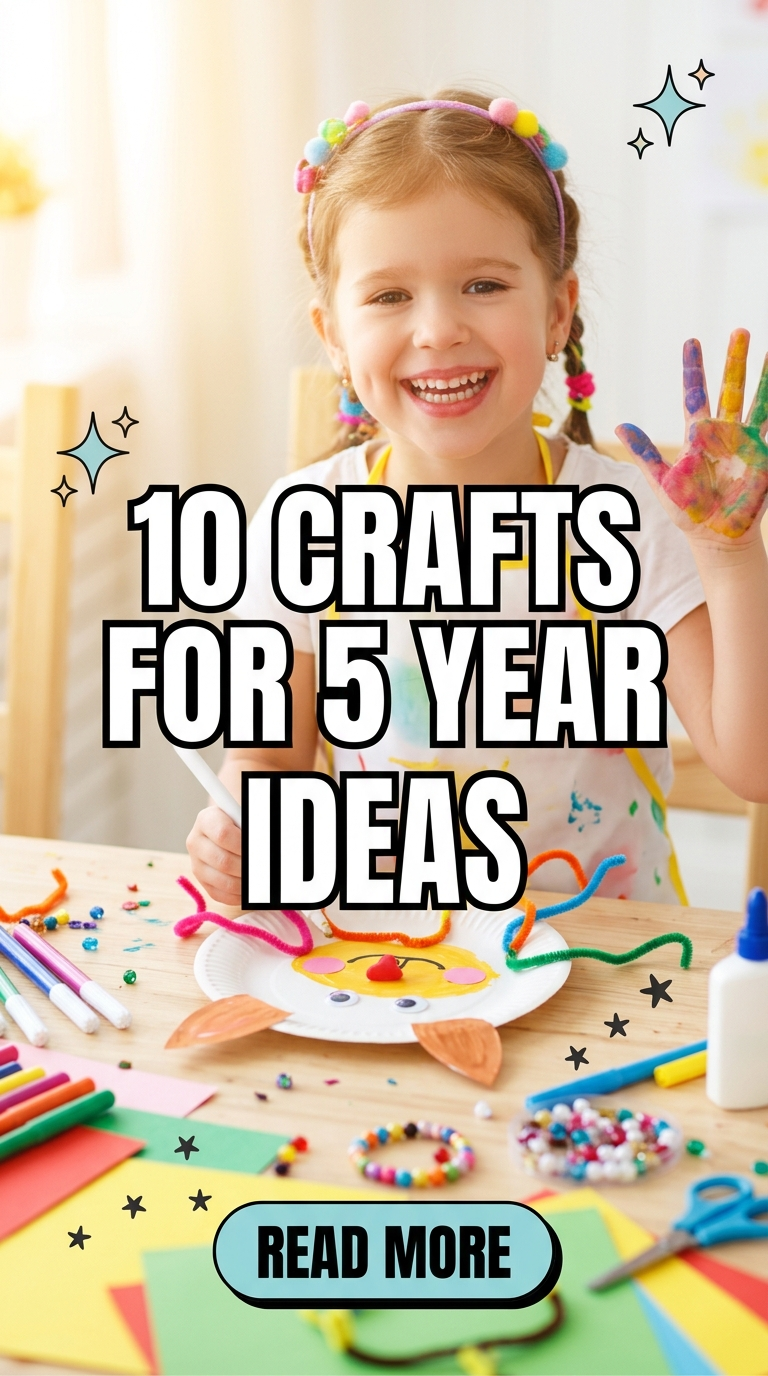
Five-year-olds are at a magical age for crafting. They have more control over their hands than toddlers, they love showing off their work, and their imaginations are absolutely exploding! At this age, “process art”—the act of creating—is just as important as the finished product. Working on crafts helps them build fine motor skills, follow directions, and gain confidence in their own ideas.

In this guide, we are sharing 10 Crafts For 5 Year Olds Ideas that focus on bright colors, simple shapes, and plenty of “I did it myself!” moments. These projects use basic household items like paper plates, toilet paper rolls, and coffee filters. They aren’t just about making something pretty; they are about letting your child explore textures and colors while having a blast. Let’s get the glue sticks ready and dive into a world of 5-year-old creativity!
1. Colorful Coffee Filter Butterflies
This is a classic for a reason! It’s a science experiment and a craft all in one. Because coffee filters are so absorbent, the colors bleed together to create a beautiful tie-dye effect that looks just like real butterfly wings.
- Materials Needed:
- Coffee filters
- Washable markers
- Spray bottle with water
- Clothespins
- Pipe cleaners
- Steps:
- Have your child color the coffee filter with markers (dots and scribbles work best!).
- Lightly spray the filter with water and watch the colors spread.
- Let it dry completely.
- Pinch the center of the filter and clip it with a clothespin.
- Twist a pipe cleaner around the top of the clothespin for antennae.
Pro Tip: Draw two little eyes on the clothespin with a black marker to give the butterfly a friendly face.

2. Paper Plate “Sun” Suncatchers
Brighten up any window with these happy suns! This craft helps 5-year-olds practice their cutting skills and allows them to play with sticky textures without the mess of liquid glue.
- Materials Needed:
- Paper plate
- Yellow tissue paper squares
- Clear contact paper
- Yellow paint
- Scissors
- Steps:
- Cut the center circle out of the paper plate (an adult might need to help start this).
- Let your child paint the remaining ring yellow.
- Stick a piece of clear contact paper over the hole.
- Let the child press yellow tissue paper squares onto the sticky surface.
- Tape it to a sunny window to see it glow!
Pro Tip: Use different shades of yellow and orange tissue paper to make the sun look like it’s actually shimmering.

3. Toilet Paper Roll Binoculars
Every 5-year-old loves an adventure! These binoculars are perfect for a backyard safari or a “spy” mission around the house. They are sturdy, easy to decorate, and encourage hours of active play.
- Materials Needed:
- 2 empty toilet paper rolls
- Duct tape or glue
- String or yarn
- Stickers, markers, or paint
- Steps:
- Tape or glue the two rolls side-by-side.
- Let the child decorate them with their favorite stickers or markers.
- Punch a hole on the outside of each roll at one end.
- Tie the string through the holes so they can wear them around their neck.
- Head outside for a nature scavenger hunt!
Pro Tip: If using glue, wrap a rubber band around the two rolls while they dry to keep them perfectly aligned.

4. Fork-Painted Lions
Who knew a plastic fork could be a paintbrush? This technique is great for 5-year-olds because it’s repetitive and creates a cool “furry” texture that makes their lion look fierce and fun.
- Materials Needed:
- White paper or a yellow paper plate
- Orange and yellow acrylic paint
- Plastic fork
- Googly eyes and a black marker
- Steps:
- Draw a circle in the middle of the paper (or use the center of a plate).
- Dip the back of the fork into the paint.
- Press the fork down all around the circle to create the lion’s mane.
- Glue googly eyes in the center.
- Draw a nose, mouth, and whiskers with the marker.
Pro Tip: Mix the orange and yellow paint slightly on the fork for a “multidimensional” mane that looks more realistic.

5. Bubble Wrap Printed Beehives
If you have leftover shipping supplies, don’t throw them away! Bubble wrap makes the perfect honeycomb pattern. This is a sensory-rich craft that kids find fascinating.
- Materials Needed:
- Bubble wrap
- Yellow paint
- White paper
- Yellow thumbprints (for the bees)
- Steps:
- Paint a square of bubble wrap with yellow paint.
- Press the painted side down onto the white paper like a big stamp.
- Peel it back to reveal the “beehive” pattern.
- Once dry, have the child dip their thumb in yellow paint and make “bee” prints around the hive.
- Draw wings and stripes on the thumbprints with a marker.
Pro Tip: Cut the bubble wrap into a hive shape before painting to make the project look more finished.

6. Handprint Salt Dough Keepsakes
Salt dough is like homemade play-dough that you can bake to keep forever. 5-year-olds love the squishy texture of the dough, and parents love having a tiny handprint to remember this age.
- Materials Needed:
- 2 cups flour, 1 cup salt, 1 cup water
- Acrylic paint
- Ribbon (optional)
- Steps:
- Mix the ingredients and knead until a smooth dough forms.
- Roll it out flat and have the child press their hand firmly into the dough.
- Cut a circle around the handprint.
- Bake at 100°C for 2–3 hours until hard.
- Once cool, let the child paint their handprint their favorite color.
Pro Tip: Use a straw to poke a hole at the top of the dough before baking so you can hang it up with a ribbon later.

7. Pasta Shell Rainbows
Dry pasta isn’t just for dinner—it’s a great 3D crafting material! Painting the pasta and gluing it down helps 5-year-olds with their “pincer grasp” and color recognition.
- Materials Needed:
- Dry pasta shapes (macaroni or shells)
- Rainbow colored paints
- Glue
- White paper
- Cotton balls (for clouds)
- Steps:
- Have the child paint small piles of pasta in each color of the rainbow.
- Draw faint lines on the paper to guide the rainbow shape.
- Glue the pasta along the lines in the correct color order.
- Glue fluffy cotton balls at the ends of the rainbow for clouds.
- Let it dry flat overnight.
Pro Tip: If you’re in a hurry, you can dye the pasta in a bag with food coloring and a drop of vinegar beforehand.

8. Paper Chain Snakes
This craft teaches patterns and basic construction. By linking paper strips together, kids create a wiggly, bouncy snake that they can play with afterward.
- Materials Needed:
- Construction paper (different colors)
- Glue stick or tape
- Googly eyes
- Red paper scrap (for the tongue)
- Steps:
- Cut the construction paper into long strips about 1 inch wide.
- Make a loop with the first strip and glue it shut.
- Thread the next strip through the loop and glue it shut.
- Continue until the snake is long and wiggly.
- On the front loop, glue googly eyes and a long red paper “Y” shape for the tongue.
Pro Tip: Challenge the child to make a pattern, like “green, green, yellow,” to sneak in some math learning!

9. Clothespin Dinosaurs
Transform a simple wooden clothespin into a prehistoric friend! This craft is great because it creates a “toy” that actually opens and closes its mouth, perfect for imaginative play.
- Materials Needed:
- Wooden clothespins
- Cardstock or stiff paper
- Paint or markers
- Glue
- Steps:
- Draw a dinosaur shape on cardstock and cut it in half horizontally (right through the mouth).
- Glue the top half of the dino to the top part of the clothespin’s “mouth.”
- Glue the bottom half to the bottom part.
- When you pinch the clothespin, the dinosaur “roars” and opens its mouth!
- Paint the clothespin to match the dinosaur’s body.
Pro Tip: Glue a small paper “egg” or a “baby dino” to the back of the clothespin so it appears when the mouth opens.

10. Egg Carton Treasure Box
At age 5, every rock, button, and shiny bead is a treasure. Give them a place to keep their finds by decorating a recycled egg carton.
- Materials Needed:
- Empty cardboard egg carton
- Paint, glitter, or stickers
- Glue
- Jewels or sequins
- Steps:
- Let the child paint the entire outside of the egg carton.
- While the paint is wet, sprinkle a little glitter on top.
- Once dry, glue “jewels” or stickers all over the lid.
- Use the 12 sections inside to organize different types of treasures (rocks in one, shells in another).
- Write the child’s name on the lid with a bold marker.
Pro Tip: Use egg cartons with a flat top rather than the ones with holes for easier decorating.

Tips & Tricks for Crafting with 5-Year-Olds
- Prepare the Space: Cover your table with an old tablecloth or newspaper. 5-year-olds are enthusiastic, which usually means paint and glue will end up in unexpected places!
- Low-Temp Glue Guns: If a project needs a stronger bond, a “low-temp” glue gun is safer for kids to use with adult supervision, helping them feel like “big kids.”
- Limit Choices: Instead of giving them a box of 50 markers, try giving them 3 or 4 colors that go well together. It helps them focus and prevents “decision fatigue.”
- Display Their Work: Hang their art on the fridge or a dedicated “art wall.” It builds their self-esteem and makes them proud of their hard work.
Common Mistakes to Avoid
- Focusing on Perfection: A 5-year-old’s rainbow might have orange next to purple, and that’s okay! Let them lead the way.
- Cleaning Up Too Early: Let them finish their project completely before you start putting things away. Rushing them can kill the creative spark.
- Complex Instructions: Keep it to one or two steps at a time. If you give a 5-step direction, they will likely only remember the last thing you said.
Conclusion
Crafting with 5-year-olds is all about exploration, laughter, and maybe a little bit of glitter in the carpet. These 10 Crafts For 5 Year Olds Ideas are designed to be simple enough for them to do mostly on their own, giving them a huge sense of accomplishment.
Which craft are you starting with today? Whether it’s a bubble wrap beehive or a paper chain snake, you’re building memories (and skills) that will last a lifetime. Happy crafting!


Leave a Reply