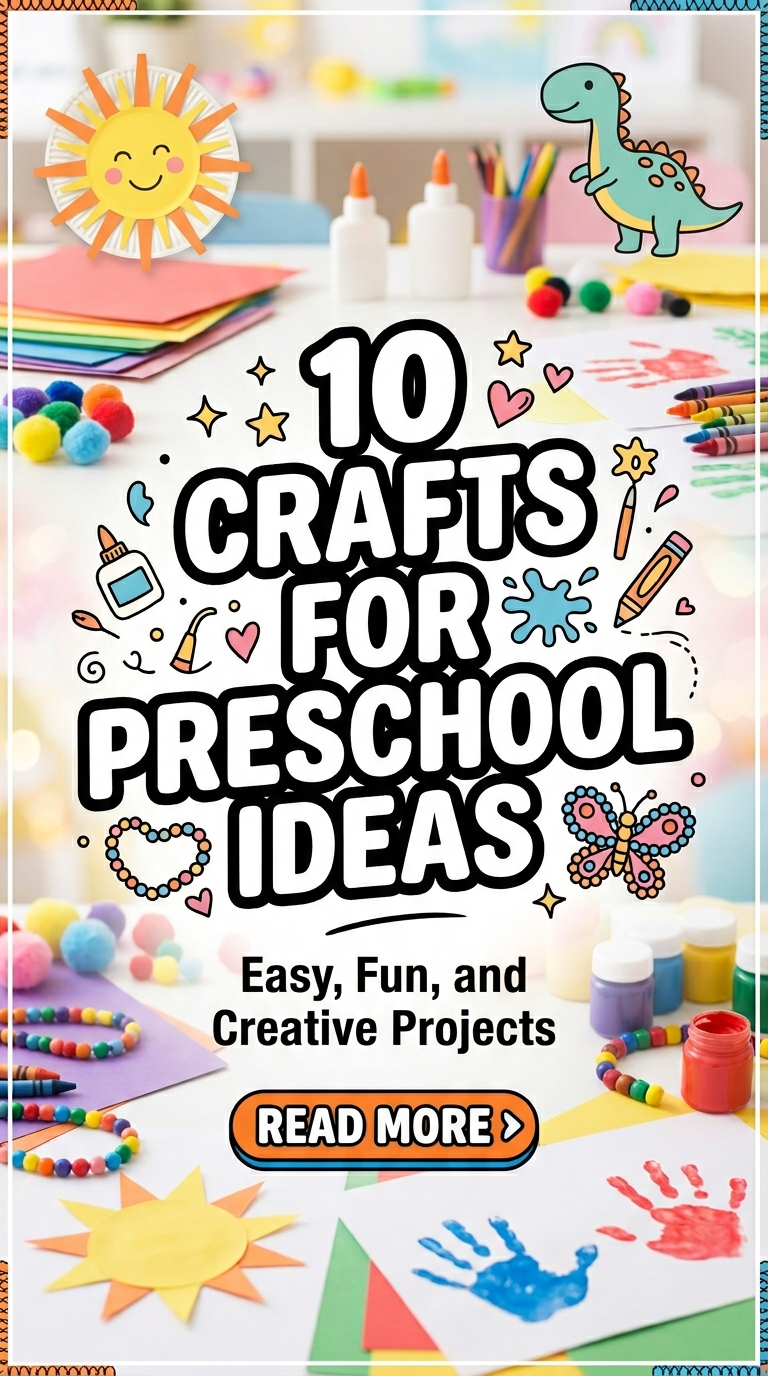
Preschoolers are in the “golden age” of discovery. At three and four years old, they are moving past simple scribbling and starting to recognize shapes, colors, and the joy of creating something that looks like “something.” Crafting with preschoolers is less about the end result and more about developing fine motor skills—like pincer grasps, scissor control, and glue application—while letting their imaginations run wild.

In this guide, we’ve gathered 10 Crafts For Preschool Ideas that are tactile, vibrant, and perfectly suited for little hands. These projects focus on high-sensory experiences and simple steps that allow kids to feel a huge sense of accomplishment. Whether you’re a parent, teacher, or caregiver, these ideas will keep your preschoolers engaged, learning, and, most importantly, having fun!
1. Paper Plate Tropical Fish
Paper plates are the ultimate preschool craft supply. By cutting out a simple “pie slice” for the mouth, your child automatically creates a tail for the fish. This project is a fantastic way to teach them about shapes and symmetry.
- Materials Needed:
- Paper plates
- Washable paint or markers
- Googly eyes
- Glue stick
- Tissue paper scraps
- Steps:
- Cut a small triangle out of one side of the plate (this is the mouth).
- Glue that triangle to the opposite side of the plate to create the tail.
- Let your preschooler paint the “fish” or glue on colorful tissue paper “scales.”
- Add a large googly eye near the mouth.
- Use markers to draw bubbles or patterns on the fish.
Pro Tip: Staple a popsicle stick to the bottom of the fish to turn it into a puppet for “under-the-sea” playtime.

2. Puffy Paint Snow Clouds
This isn’t just painting—it’s a sensory experience. Mixing glue and shaving cream creates a “puffy” texture that stays 3D even after it dries. It’s a wonderful way for preschoolers to explore different textures while making a winter-themed masterpiece.
- Materials Needed:
- White shaving cream (not gel)
- White school glue
- Blue construction paper
- Silver glitter (optional)
- Steps:
- Mix equal parts shaving cream and glue in a small bowl until it looks like thick frosting.
- Let the child “plop” the mixture onto the blue paper to form clouds.
- Use a paintbrush or fingers to swirl the “clouds” around.
- Sprinkle a little glitter on top while it’s wet for a snowy sparkle.
- Let it dry overnight—it will stay squishy to the touch!
Pro Tip: Put the mixture into a piping bag (or a plastic bag with the corner cut off) to let them “draw” with the puffy paint.

3. Rainbow Handprint Wreath
Preschoolers love anything that involves their own hands. This craft makes a beautiful keepsake and is a great way to practice tracing. It teaches them about cooperation if you make a large version with a group of friends!
- Materials Needed:
- Construction paper (all colors of the rainbow)
- Pencil
- Child-safe scissors
- Large paper plate (center removed)
- Glue
- Steps:
- Trace your child’s hand on several different colors of paper.
- Help them cut out the handprints (a great time to practice scissor skills!).
- Glue the handprints around the rim of the paper plate ring.
- Layer the colors in rainbow order for a bright, cheerful look.
- Tie a ribbon to the top to hang it on a bedroom door.
Pro Tip: Write something they are thankful for on each “finger” of the handprints to turn it into a gratitude wreath.

4. Nature Sunprints (Contact Paper Art)
Take the crafting outside! This project encourages preschoolers to explore their environment and collect “treasures” like leaves, petals, and flat stones. It uses contact paper, which means no messy liquid glue is required.
- Materials Needed:
- Clear contact paper
- Painter’s tape
- Nature finds (leaves, flat flowers, grass)
- Construction paper (for a frame)
- Steps:
- Tape a piece of contact paper to a table or window, sticky side facing out.
- Let the child press their nature finds onto the sticky surface.
- Once they are finished with their design, place another piece of contact paper on top to seal it.
- Cut a “frame” out of construction paper and glue it around the edges.
- Hang it in a window to let the sun shine through the leaves.
Pro Tip: This works best with “flat” items; if a leaf is too crunchy or thick, it might prevent the two layers of contact paper from sealing.

5. Egg Carton Caterpillars
Recycling is a great lesson for preschoolers. A simple egg carton can be transformed into a wiggly caterpillar. This craft helps with fine motor skills as they paint small surfaces and poke pipe cleaners through holes.
- Materials Needed:
- Cardboard egg carton (cut into a single strip of 6 cups)
- Paint and brushes
- Pipe cleaners
- Googly eyes
- A pencil (for poking holes)
- Steps:
- Have the child paint the egg carton strip (each cup can be a different color!).
- Once dry, use a pencil to poke two holes in the “head” cup (adult help needed here).
- Let the child thread a pipe cleaner through the holes for antennae.
- Glue googly eyes and draw a tiny smile.
- Bend the carton slightly so the caterpillar looks like it’s crawling.
Pro Tip: Glue small pom-poms along the back of the caterpillar for added color and texture.

6. Celery Stamped Roses
Who knew vegetables could be art tools? The base of a celery bunch looks exactly like a rose when dipped in paint. It’s a “magic” moment for preschoolers when they lift the celery and see a flower left behind on the paper.
- Materials Needed:
- A head of celery (cut about 3 inches from the base)
- Washable paint (red, pink, or yellow)
- Green markers
- Paper
- Steps:
- Dip the cut end of the celery base into a plate of paint.
- Press it firmly onto the paper like a giant stamp.
- Lift carefully to reveal the “rose.”
- Use a green marker to draw stems and leaves for each flower.
- Make a whole bouquet for a “Mother’s Day” or “Teacher Appreciation” card.
Pro Tip: Make sure the celery cut is perfectly flat so the “stamp” makes a full circle on the paper.

7. Fork-Painted Hedgehogs
Using a fork instead of a brush is a fun way for preschoolers to create “spiky” textures. It’s a very satisfying motion for them to pull the fork away from a center point, creating a cute, prickly animal in the process.
- Materials Needed:
- Brown and tan construction paper
- Brown paint
- Plastic fork
- Googly eyes and a black marker
- Steps:
- Cut a semi-circle out of tan paper for the hedgehog’s body and glue it to a larger sheet.
- Dip the back of a plastic fork into brown paint.
- “Stamp” and drag the fork across the body to create the spikes.
- Leave a small area at the front clear for the face.
- Glue an eye and draw a little nose and mouth.
Pro Tip: Use multiple shades of brown and orange paint to give the hedgehog’s “fur” more depth.

8. Cardboard Tube Rainsticks
Music and art go hand-in-hand! This craft creates a soothing sound and teaches preschoolers about cause and effect. It’s a great “calm down” toy that they can use during transition times.
- Materials Needed:
- Long cardboard tube (paper towel roll)
- Aluminum foil
- Uncooked rice or small beans
- Construction paper and tape
- Steps:
- Crunch up a long piece of aluminum foil into a “snake” and slide it into the tube.
- Tape a piece of construction paper over one end of the tube so it’s completely sealed.
- Pour in a small handful of rice or beans.
- Seal the other end of the tube with paper and tape.
- Let the child decorate the outside with stickers or markers.
- Tilt the tube slowly to hear the “rain” fall!
Pro Tip: The foil “snake” is the secret—it slows down the rice so it sounds like raindrops rather than just a thud.

9. Giant “Name” Collage
This project helps with letter recognition and identity. By using different materials to “fill in” the letters of their name, preschoolers connect the shapes of the letters to a fun creative activity.
- Materials Needed:
- Large piece of cardstock or cardboard
- Bold marker
- Glue
- Various collage materials (buttons, sequins, yarn, tissue paper)
- Steps:
- Write the child’s name in giant block letters across the paper.
- Let them choose a material for each letter (e.g., “A” is for buttons, “B” is for yarn).
- Help them apply glue inside the lines of one letter at a time.
- Let them carefully place the items to “fill in” the letter.
- Display it in their room so they can see their name every day!
Pro Tip: Use items that start with the letter for extra learning (e.g., glue Sequins on the letter S).

10. Bubble Wrap Starfish
Texture and pattern come together in this sea-themed craft. Painting on bubble wrap is a sensory delight for preschoolers, and the resulting “print” looks just like the bumpy skin of a real starfish.
- Materials Needed:
- Bubble wrap
- Orange or pink paint
- Construction paper (cut into a 5-point star shape)
- Paintbrush
- Steps:
- Paint a square of bubble wrap with a thick layer of paint.
- Press the paper star down onto the wet bubble wrap like a stamp.
- Lift it up to see the “bumpy” pattern left behind.
- Once dry, glue two googly eyes in the center.
- Sprinkle a little sand or salt on the wet paint for extra texture.
Pro Tip: Don’t press too hard! A light “squish” is all you need to get the bubble pattern without smearing the paint.

Tips & Tricks for Preschool Crafting
- The “Two-Step” Rule: Preschoolers have short attention spans. If a craft has more than two or three steps, try doing one half in the morning and the other half after nap time.
- Master the Glue: Teach them the phrase “A little dab will do ya!” to prevent them from creating giant glue puddles that take days to dry.
- Embrace the Mess: Use an old shower curtain as a “drop cloth” under the table. It makes cleanup a breeze and lets you say “yes” to more creative freedom.
- Narrate the Process: While they craft, talk about what they are doing. “I see you are using a lot of blue!” or “How does that sticky paper feel?” This builds their vocabulary.
Common Mistakes to Avoid
- Comparing to the Sample: Their caterpillar might have eight eyes and a tail on its head. That’s okay! It’s their creation, not yours.
- Doing the Cutting for Them: It’s tempting to take over, but let them try. Using “safety scissors” is a milestone skill that only improves with practice.
- Over-Correcting: If they want a purple sun, let them have a purple sun. Creative confidence is more important than scientific accuracy at age four.
Conclusion
Crafting with preschoolers is a journey of exploration and joy. These 10 Crafts For Preschool Ideas are designed to help them build confidence, improve their motor skills, and express their unique personalities.
Which project are you going to try first? Whether it’s a “rainy” rainstick or a “celery rose,” you’re helping a little artist find their voice. Happy crafting!


Leave a Reply