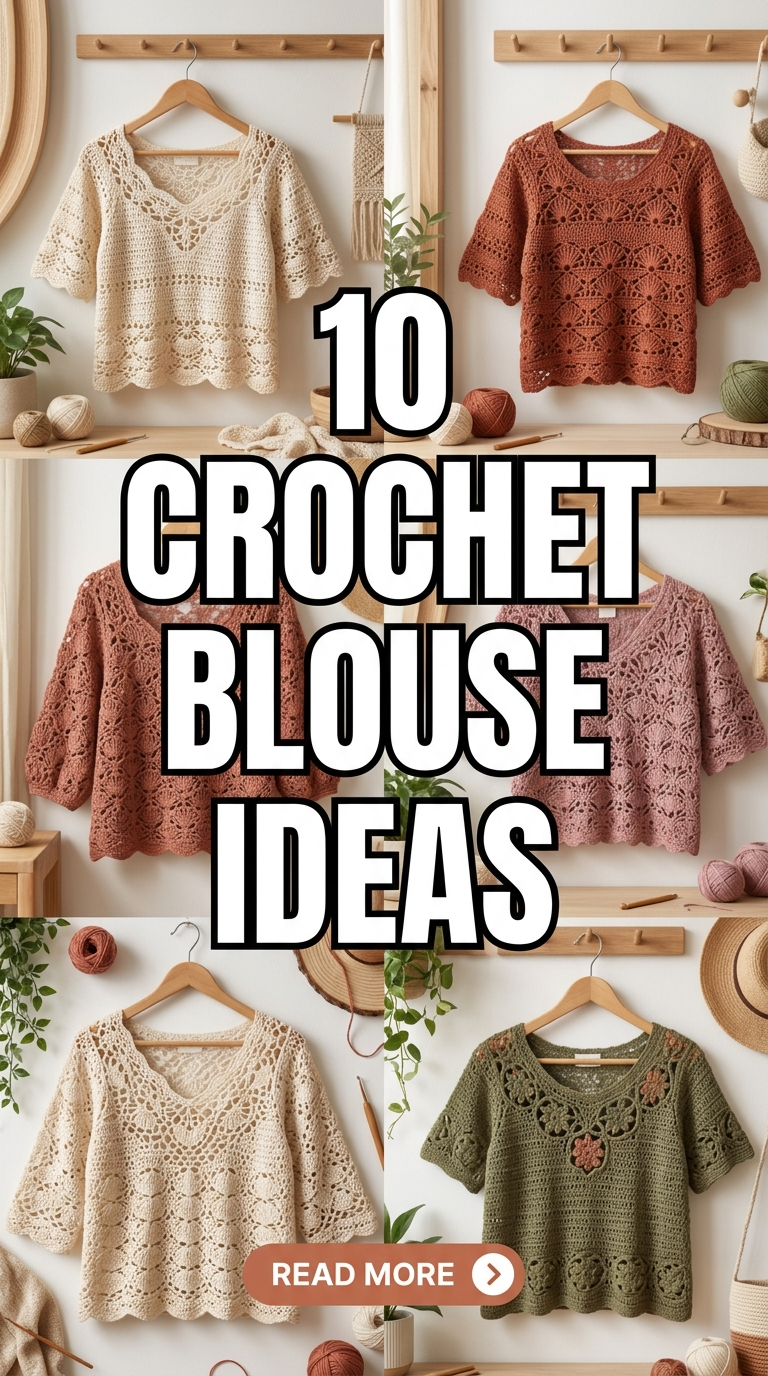
Have you ever walked into a boutique, seen a gorgeous lace top, and thought, “I could actually make that”? There is something incredibly empowering about wearing a garment you created with nothing but a stick and a string. Crochet blouses are no longer just for grandma’s doilies; they are hitting the high-fashion runways and filling up our Pinterest feeds with modern, chic, and breathable designs.

In this guide, we explore 10 crochet blouse ideas that prove just how versatile this craft can be. Whether you want something breezy for a beach day or a sophisticated top for a dinner date, crochet offers endless possibilities. These designs focus on drape, fit, and style, ensuring you look “boutique-ready” every time you step out. Let’s dive into these stunning patterns and get your hooks moving!
1. The Classic Victorian Mock-Neck
This blouse is the height of sophistication. Featuring a high neck and delicate lace clusters, it mimics the intricate styles of the 1900s but with a modern, lightweight twist. It’s perfect for pairing with high-waisted trousers.
Materials Needed:
- Fine weight (Level 2) cotton yarn in cream or white
- 3.25mm crochet hook
- Small pearl buttons for the back closure
- Stitch markers
Steps:
- Crochet the neckband first using a ribbed stitch (half-double crochet in back loops).
- Work downward from the neck, increasing for the shoulders using a shell stitch.
- Separate for the sleeves and body at the underarm.
- Continue the body in a solid “linen stitch” for coverage.
- Finish the sleeves with wide, flared ruffles.
Pro Tip: Use a “foundation single crochet” to start your neckband; it provides much more stretch than a standard chain, making it easier to pull over your head.

2. The Boho Granny Square Crop
The granny square is iconic, but the modern version is all about color placement and fit. This blouse uses four large, intricate squares joined together to create a boxy, retro-chic silhouette that screams summer festival.
Materials Needed:
- Medium weight cotton or bamboo blend (3–4 different colors)
- 4.5mm crochet hook
- Darning needle
Steps:
- Crochet four large squares (approx. 10–12 inches depending on your size).
- Join two squares for the front and two for the back.
- Leave a gap at the top for the neck and at the sides for the arms.
- Add a simple double-crochet border around the bottom hem.
- Create thick, sturdy straps using the Tunisian simple stitch or rows of sc.
Pro Tip: Block your squares before joining them! This ensures the blouse sits flat against your body instead of bunching up at the seams.

3. The “Summer Breeze” Mesh Tunic
If you are looking for the perfect swimsuit cover-up or a layering piece for a tank top, this is it. It uses a very open “trellis” stitch that is incredibly fast to work up and feels weightless.
Materials Needed:
- Sport weight linen yarn
- 5mm crochet hook (larger hook creates more drape)
- Measuring tape
Steps:
- Create two simple rectangles for the front and back.
- Use the trellis stitch: (sc, chain 5, skip 3 stitches, sc).
- Join the shoulders leaving a wide boat-neck opening.
- Join the sides, leaving long slits at the hips for movement.
- Add a decorative fringe to the bottom hem for a beachy vibe.
Pro Tip: Linen yarn can be stiff at first, but it softens beautifully after the first wash. Don’t be afraid if it feels “crunchy” while you work!

4. The Bell-Sleeve Peplum Top
This design is all about the silhouette. By cinching the waist and flaring out at the hips and wrists, you create a feminine, “cottagecore” look that is flattering on every body type.
Materials Needed:
- DK weight yarn in a dusty rose or sage green
- 4mm crochet hook
- Elastic thread (optional for the waist)
Steps:
- Work the bodice from the bottom up in a solid stitch like the Herringbone HDC.
- At the waistline, switch to a decorative “V-stitch.”
- Increase rapidly in every other stitch to create the peplum flare.
- Attach yarn to the armholes and work the sleeves straight until the elbow.
- Increase for the “bell” effect at the forearms.
Pro Tip: Thread a bit of elastic through the waistline stitches to ensure the peplum stays perfectly cinched throughout the day.

5. The Off-The-Shoulder Romance Blouse
Nothing says summer romance like an off-the-shoulder top. This blouse features a wide, ruffled neckline that can be worn down over the arms or up as a wide scoop neck.
Materials Needed:
- Fingering weight yarn (merino or cotton)
- 3.5mm crochet hook
- 1/2 inch elastic band
Steps:
- Crochet a long, wide tube for the body.
- Create two smaller tubes for the sleeves.
- Join the sleeves to the body in one long round.
- Crochet several rows of “fan stitches” around the entire top edge to create the ruffle.
- Fold the top edge over a piece of elastic and sew it down to hold the blouse in place.
Pro Tip: Make sure your ruffle is at least 4 inches deep to give it that dramatic, high-fashion “flutter” look.

6. The Sophisticated Chevron Shell
Chevron (or ripple) stitches aren’t just for blankets! When done with a fine-weight yarn, they create a beautiful zigzag pattern that naturally flatters the torso. It’s an excellent office-wear option.
Materials Needed:
- Gradient or “cake” yarn in neutral tones
- 3.75mm crochet hook
- Stitch markers
Steps:
- Work in the round from the bottom up.
- Follow a 12-stitch ripple pattern (increases at peaks, decreases at valleys).
- Keep your tension consistent to ensure the points stay sharp.
- Separate for the armholes and work the front and back panels flat.
- Finish the neckline with a simple slip-stitch border.
Pro Tip: Use a gradient yarn so the colors change automatically as you move up the blouse, highlighting the chevron peaks.
7. The Keyhole Back Halter
For those hot summer days, a halter blouse is a lifesaver. This design features a solid front for coverage and a stunning keyhole opening in the back tied with a dainty bow.
Materials Needed:
- 100% Mercerized cotton (for shine and durability)
- 3.25mm crochet hook
Steps:
- Start at the waist and work upward.
- Decrease at the sides to create the halter shape.
- When you reach the chest, split the work into two panels to create the front “V.”
- For the back, create two panels that overlap slightly, leaving a teardrop-shaped gap.
- Crochet long “i-cord” ties for the neck and the back closure.
Pro Tip: Mercerized cotton is best for this project because it doesn’t stretch out over time, keeping your “keyhole” shape perfect.

8. The Puff-Sleeve Princess Top
Statement sleeves are everywhere! This blouse combines a simple, fitted body with massive, airy puff sleeves that add a touch of drama to any outfit.
Materials Needed:
- Light worsted yarn
- 4.5mm crochet hook
- 3.5mm crochet hook (for the cuffs)
Steps:
- Crochet a fitted “ribbed” bodice (using back-loop-only stitches).
- For the sleeves, use a much larger hook and a loose stitch (like double crochet).
- Make the sleeves twice as wide as your arm.
- Use the smaller hook to rapidly decrease at the wrist to create a tight, 3-inch cuff.
- Sew the sleeves to the bodice, gathering the extra fabric at the shoulder for “puff.”
Pro Tip: To get maximum “puff,” use a lightweight yarn like a mohair blend so the sleeves stay voluminous without being heavy.

9. The Geometric Cut-Out Blouse
If you like a modern, “edgy” look, this blouse uses negative space. It features solid sections joined by “spider-web” or geometric lace, creating built-in cut-outs at the waist or shoulders.
Materials Needed:
- Black or charcoal cotton yarn
- 4mm crochet hook
Steps:
- Map out where you want your “solids” (usually the bust and lower torso).
- Crochet the solid sections in single crochet.
- Link them together using “bridge” stitches (long chains and triple crochets).
- Ensure the mesh sections are tight enough to maintain the garment’s structure.
- Add a simple “Picot” border to the edges for a finished look.
Pro Tip: Wear a contrasting color camisole underneath to make the geometric cut-out patterns really stand out.

10. The Everyday Raglan Tee
Sometimes, simple is best. The raglan tee is a crochet staple because it’s worked from the top down in one piece—meaning absolutely no sewing is required! It’s the perfect “first blouse” project.
Materials Needed:
- Bamboo/Cotton blend (for the best drape)
- 4mm crochet hook
- 4 stitch markers
Steps:
- Start with a neck chain and place 4 markers at the corners.
- Increase at each marker every round to create the raglan “lines.”
- Once the “lines” reach your armpit, skip the sleeve stitches and join the front to the back.
- Continue the body in simple rounds of half-double crochet.
- Go back and add a few rounds to the sleeves for a “short sleeve” look.
Pro Tip: Since this is worked top-down, try it on as you go! This allows you to customize the length and width to your exact body shape.

Tips & Tricks for Professional-Looking Crochet Blouses
- Master the “Drape”: The biggest mistake in crochet clothing is making it too stiff. Use a hook one size larger than the yarn suggests, or choose “drapery” fibers like bamboo, silk, or linen.
- Always Swatch: Before starting, crochet a 4×4 inch square. If your square is smaller than the pattern says, your blouse won’t fit. Adjust your hook size accordingly.
- Invisible Seams: If your blouse requires sewing, use the “Mattress Stitch.” It hides the seam inside the garment, making it look like it was bought in a high-end store.
- Blocking is Non-Negotiable: Wet blocking (soaking the finished top and pinning it to shape) transforms “lumpy” crochet into a smooth, professional garment.
Common Mistakes to Avoid
- Ignoring Yarn Weight: Swapping a “bulky” yarn for a “fingering” yarn without changing the pattern will result in a blouse that could fit a giant (or a doll). Stick to the weight suggested!
- Using High-Acrylic Yarn: For blouses, 100% acrylic can be very sweaty and hot. Stick to natural blends for breathability.
- Forgetting Stretch: Crochet doesn’t stretch as much as knitting. Ensure your necklines and armholes are wide enough to get in and out of comfortably.
Conclusion
From the vintage charm of a Victorian neck to the effortless cool of a raglan tee, these 10 crochet blouse ideas offer something for every style. Crocheting your own clothes is a slow, rewarding journey that results in a one-of-a-kind wardrobe. You aren’t just following a pattern; you are engineering a garment that fits you perfectly.
Ready to start your next masterpiece? Grab your favorite yarn, pick a design, and show the world what your hook can do! Don’t forget to save these ideas to your crochet board on Pinterest!


Leave a Reply