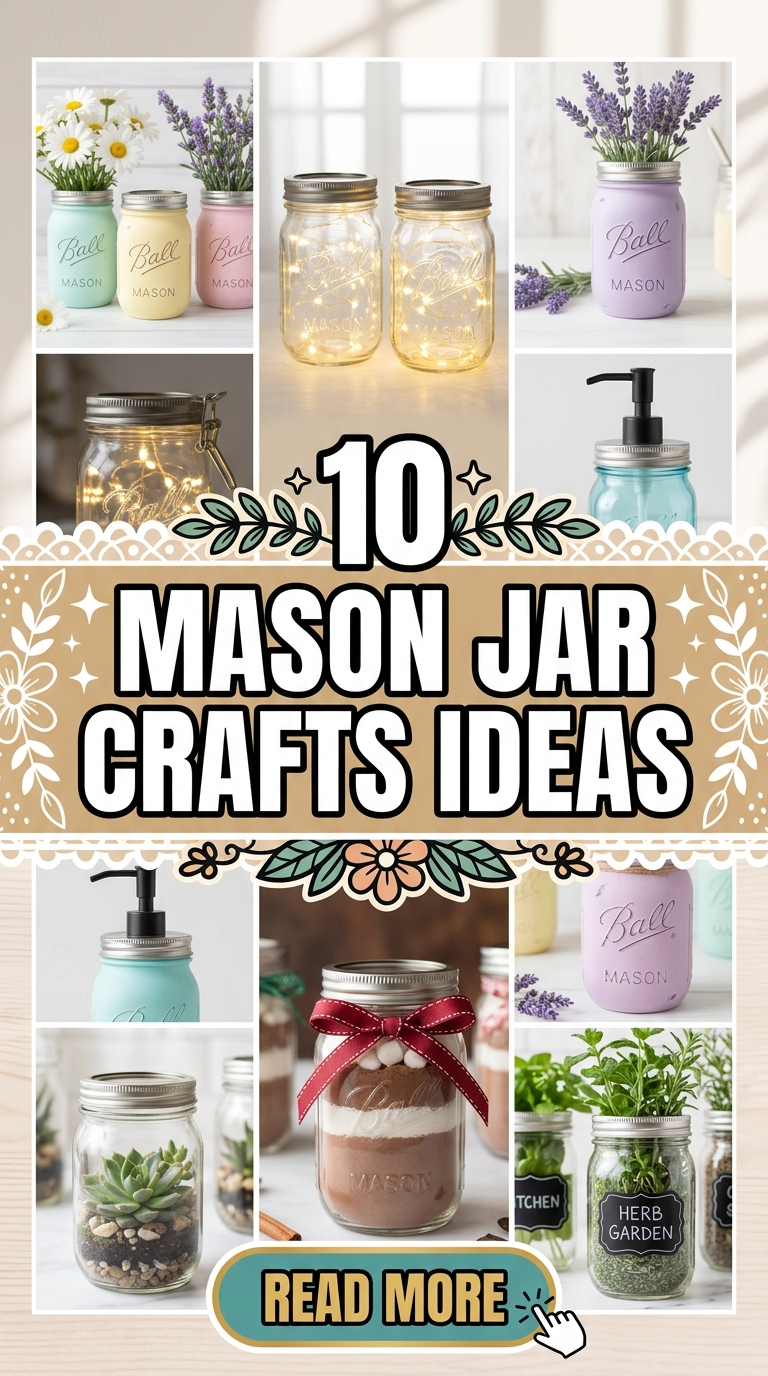
Do you have a stash of empty glass jars gathering dust in your pantry? Before you toss them in the recycling bin, stop! Those humble glass containers are actually blank canvases for your creativity. From cozy lighting to organized workspaces, the possibilities are endless. Whether you are a DIY expert or a total beginner, working with glass is one of the most satisfying ways to spend an afternoon. In this guide, we are diving into 10 Mason Jar Crafts Ideas that are budget-friendly, incredibly stylish, and easy enough for the whole family to join in. Let’s turn that “trash” into treasure and give your home a personalized, handmade touch that looks like it came straight out of a high-end boutique.

1. Enchanting Fairy Lanterns
There is something truly magical about a glowing jar in a dark room. Fairy lanterns are perfect for kids’ bedrooms or as whimsical patio lighting. By using simple silhouette cutouts and some frosted spray paint, you can create a scene that looks like a tiny forest captured inside a bottle. When you flip the switch on the LED lights, the shadows dance against the glass, creating a dreamy atmosphere.
- Materials Needed:
- Clean mason jar
- Black cardstock or vinyl stickers (fairy shapes)
- White frosted glass spray paint
- Battery-operated fairy lights
- Twine or ribbon
- Steps:
- Clean the jar thoroughly with rubbing alcohol.
- Stick your fairy silhouette onto the outside of the glass.
- Lightly spray the entire jar with frosted paint.
- Once dry, carefully peel off the sticker to reveal the clear “window.”
- Drop the fairy lights inside and wrap twine around the rim.
Pro Tip: Use a bit of hot glue to secure a silk flower to the lid for an extra touch of woodland charm.

2. Farmhouse Style Soap Dispenser
Why settle for ugly plastic soap bottles when you can have a chic farmhouse look? This is one of the most practical 10 Mason Jar Crafts Ideas because it upgrades your kitchen or bathroom instantly. It’s sturdy, easy to refill, and much better for the planet than buying single-use plastics every month.
- Materials Needed:
- Pint-sized mason jar
- Soap dispenser pump kit (available online)
- Chalk paint (white or light grey)
- Sandpaper
- Clear sealant spray
- Steps:
- Paint the outside of the jar with two coats of chalk paint.
- Let it dry completely (about 2 hours).
- Use sandpaper to lightly scuff the raised lettering for a distressed look.
- Spray with a sealant to protect it from water splashes.
- Screw on the pump lid and fill with your favorite soap.
Pro Tip: Match the pump color (bronze, silver, or gold) to your sink faucet for a professional, coordinated look.

3. Hanging Herb Garden
Fresh herbs can be expensive, so why not grow your own? A mason jar herb garden looks stunning in a sunny kitchen window. Because the jars are clear, you can see the soil and roots, which adds a lovely natural element to your decor. It’s a great way to keep basil, mint, or cilantro right where you need it most—near the stove!
- Materials Needed:
- 3-4 wide-mouth mason jars
- Small pebbles or river stones
- Potting soil
- Herb seeds or small starter plants
- Clamps and a wooden board (for mounting)
- Steps:
- Place an inch of pebbles at the bottom of each jar for drainage.
- Fill the jars with potting soil, leaving space at the top.
- Plant your herbs and pat the soil down gently.
- Secure the jars to a wooden board using metal hose clamps.
- Hang the board in a spot that gets at least 6 hours of sunlight.
Pro Tip: Label each jar with a paint pen or chalkboard sticker so you never confuse your parsley with your cilantro.

4. Distressed Desk Organizer
A messy desk leads to a messy mind. You can organize your pens, rulers, and scissors using a set of colorful, distressed jars. This project is great because you can customize the colors to match your office or your child’s homework station. It keeps everything upright and easy to find.
- Materials Needed:
- 3 mason jars of different heights
- Acrylic craft paint
- Paintbrushes
- Sandpaper
- Wood glue or a small tray
- Steps:
- Paint each jar a different but matching color (like pastels).
- Apply a second coat once the first is dry.
- Sand the “shoulders” and the “Mason” logo to let the glass peek through.
- Glue the jars together in a cluster or place them on a tray.
- Fill with your office supplies.
Pro Tip: Use a matte topcoat to give the jars a high-end “ceramic” look rather than a shiny plastic one.

5. Cozy Solar Walkway Lights
Outdoor lighting can be pricey, but you can make your own for just a few dollars. These solar-powered jars soak up the sun during the day and glow softly at night. They are perfect for lining your driveway or decorating your porch for a summer BBQ. Plus, they are completely weather-resistant if you seal the lids correctly.
- Materials Needed:
- Mason jars (any size)
- Cheap solar stake lights (pull the tops off)
- Glass gems or Epsom salt (for a “frosty” look)
- Strong waterproof glue (like E6000)
- Steps:
- Remove the plastic stake from the solar light, keeping only the top part.
- Apply glue to the underside of the solar light rim.
- Press the solar light onto the mason jar lid (or directly to the jar if it fits).
- Fill the bottom of the jar with glass gems to weigh it down.
- Place them outside in a sunny spot.
Pro Tip: Fill the jar with Epsom salt to make the light look like a glowing snowball during the winter months.

6. Beachy Sea Glass Succulent Planters
If you love the ocean, this craft is for you. By using “sea glass” spray paint or actual tumbled sea glass, you can create a coastal vibe in any room. Succulents are the perfect partners for these jars because they require very little water and look beautiful against the frosted blue and green hues.
- Materials Needed:
- Mason jars
- Sea glass spray paint (teal, blue, or lime)
- Twine and small seashells
- Succulent soil mix
- Small succulents
- Steps:
- Spray the outside of the jar with a light layer of sea glass paint.
- Once dry, wrap twine around the neck of the jar several times.
- Hot glue a small seashell to the center of the twine bow.
- Add a layer of rocks at the bottom, then the soil.
- Carefully plant your succulent.
Pro Tip: Don’t overwater! Since jars don’t have holes, only use a spray bottle to mist the soil once every two weeks.

7. Rustic Wall Sconces
Wall decor can be a challenge, but these rustic sconces add both light and texture to a blank wall. By mounting a jar on a piece of reclaimed wood and adding some faux flowers, you create a beautiful 3D piece of art. This is one of the most popular 10 Mason Jar Crafts Ideas for people who love the “Boho” or “Modern Farmhouse” style.
- Materials Needed:
- Mason jar
- Piece of wood (stained or painted)
- Iron hook or heavy-duty twine
- Faux hydrangeas or peonies
- LED tea light
- Steps:
- Stain your wood piece and let it dry.
- Attach a metal hook to the top center of the wood.
- Tie twine around the jar’s rim and create a loop for hanging.
- Place faux flowers and an LED candle inside the jar.
- Hang the jar on the hook and mount the wood to your wall.
Pro Tip: Use remote-controlled LED candles so you don’t have to take the jars down every time you want to turn them on.

8. Layered “Gift in a Jar” Recipes
Mason jars aren’t just for decor; they are the perfect vessel for thoughtful gifts. Creating layered cookie or brownie mixes is a fun way to share a treat with friends, teachers, or neighbors. The layers of flour, cocoa, and chocolate chips look like edible art through the clear glass.
- Materials Needed:
- Quart-sized mason jar
- Dry ingredients for your favorite recipe
- Fabric scrap (for the lid)
- Cardstock (for the recipe tag)
- Ribbon
- Steps:
- Wash and dry the jar completely (any moisture will ruin the mix).
- Layer the dry ingredients one by one, pressing down firmly after each layer.
- Place the flat lid on, then cover with a circle of fabric before screwing on the ring.
- Write the baking instructions on a small tag.
- Punch a hole in the tag and tie it to the jar with a ribbon.
Pro Tip: Use a funnel when pouring in the flour and cocoa to keep the sides of the glass clean and the layers sharp.

9. Personalized Memory Jar
We all have tiny treasures from vacations—tickets, shells, or photos—that end up lost in a drawer. A memory jar is a beautiful way to display these moments. You can make one for every year or every major trip. It’s like a 3D scrapbook that sits on your shelf and starts great conversations.
- Materials Needed:
- Large wide-mouth mason jar
- Sand, dirt, or dried moss (as a base)
- Small photos or mementos
- A wooden skewer (to help place items)
- Charms or labels
- Steps:
- Place a base layer (like sand from a specific beach) at the bottom.
- Tilt the jar and slide in a small printed photo against the glass.
- Add small items like seashells, ticket stubs, or dried flowers.
- Use the skewer to move items around until you like the arrangement.
- Seal the lid and label it with the date and location.
Pro Tip: If the photo won’t stay upright, use a tiny bit of double-sided tape to secure it to the back of the glass.

10. Glittery Holiday Votives
When the holidays roll around, you need a little extra sparkle. These glitter jars catch the light beautifully and make great centerpieces for a dinner table. While glitter can be messy, sealing it properly ensures your home stays clean while still looking festive.
- Materials Needed:
- Mason jar
- Mod Podge or white glue
- Extra fine glitter (gold, silver, or red)
- Sponge brush
- Clear gloss sealer
- Steps:
- Paint a thin, even layer of Mod Podge on the inside of the jar.
- Pour in a generous amount of glitter and shake it around until the glass is covered.
- Turn the jar upside down over a paper plate to remove the excess.
- Let it dry for 24 hours, then spray a clear sealer inside to lock the glitter.
- Drop in a battery-operated candle.
Pro Tip: Only glitter the inside of the jar. This keeps the outside smooth and prevents glitter from shedding all over your furniture.

Tips & Tricks for Mason Jar Success
- Cleanliness is Key: Always wipe your jars with rubbing alcohol before painting. This removes finger oils and helps the paint stick.
- Safety First: If you are using real candles, make sure the jar is heat-safe and never leave it unattended. LED candles are always the safer choice!
- Buy in Bulk: You can often find cases of jars at hardware stores for much cheaper than buying them individually at craft stores.
- Remove Labels Easily: Soak jars in warm soapy water and use a mixture of baking soda and oil to scrub off stubborn sticker residue.
Common Mistakes to Avoid
- Painting the Rim: Avoid painting the threads where the lid screws on. If you do, the lid might get stuck or the paint will peel off when you close it.
- Thick Paint Layers: Applying too much paint at once leads to drips. It is always better to do three thin coats than one thick, messy one.
- Ignoring Drainage: If you are using jars as planters, remember there is no hole at the bottom. Always add rocks or charcoal to prevent root rot.
Conclusion
Getting started with these 10 Mason Jar Crafts Ideas is the perfect way to spend a rainy afternoon. Not only do you get to relax and express your creativity, but you also end up with beautiful, functional items for your home. From glowing lanterns to organized desks, these projects prove that you don’t need a big budget to have a stylish space.
Now it’s your turn! Grab a jar, pick your favorite project from this list, and start crafting today. Don’t forget to share your finished masterpieces on social media and tag your fellow DIY lovers!


Leave a Reply