4. Ocean Wave Resin Wall Art
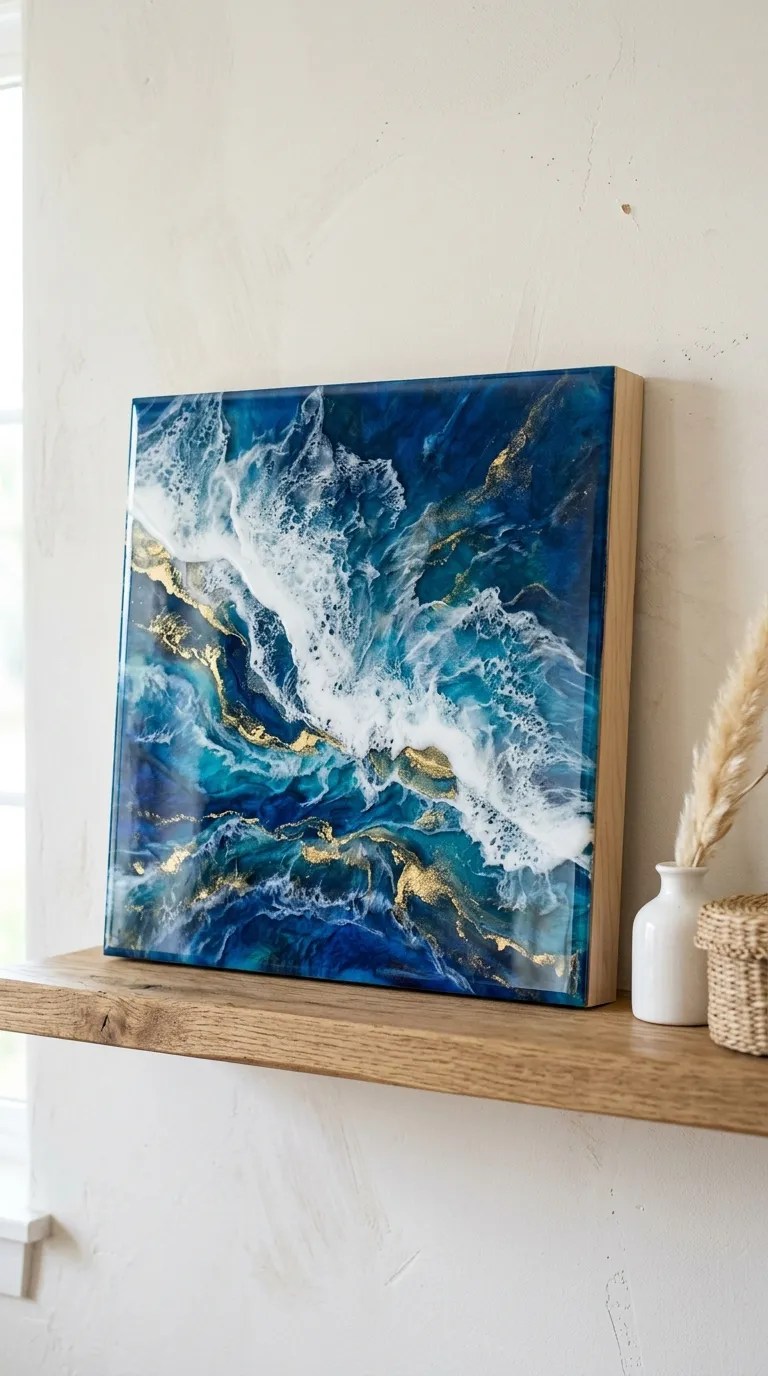
Resin wall art looks dramatic on a deep wood or birch panel, with swirling blues, whites, and teals that mimic rolling waves. While it looks gallery-worthy, the technique is straightforward and perfect for practicing color layering.
Materials: a cradled wood panel or canvas board, two-part resin, resin pigments in ocean blues, white, and gold, mixing cups, stir sticks, a heat gun, and a level surface.
Steps: Tape the back of your panel if it’s open-backed, and place it on a level surface protected with plastic. Mix a larger batch of resin and divide it into separate cups. Tint each cup with a different ocean color. Pour the colors in bands across the panel, tilting it gently in different directions to encourage the colors to flow and create wave-like patterns. Use a heat gun to bring out additional movement and pop any bubbles.
Time and difficulty: Plan for 45 minutes of active pouring and 24 to 48 hours of curing. This project is slightly more advanced because of the larger resin volume, but beginners can absolutely succeed by working slowly and keeping the surface perfectly level.
Helpful tips: Always check that your work surface is truly level before pouring. Even a slight tilt will cause the resin to pool on one side. A bubble level placed on the surface of your work area is your best friend.
Display suggestion: Hang your finished piece above a console table, desk, or bed as a calming focal point. Pair it with woven textures and natural wood for a coastal, organic feel.