There’s a particular kind of satisfaction that comes from dragging a scuffed, overlooked piece of furniture home from a garage sale and turning it into something you’re proud to have in your living room. It isn’t just about saving money, though that helps. It’s about the fact that a tired dresser or a wobbly side table still has decades of life left in it — it just needs a fresh direction.
Furniture is one of the few things in a home that can be completely reinvented for the price of a can of paint, a roll of vinyl, or a set of new legs. You don’t need a workshop, a truckload of tools, or any formal training. What you do need is a weekend, a bit of patience, and a willingness to experiment on something that was already headed for the curb.
These 10 budget-friendly DIY furniture makeover ideas cover a range of skill levels and budgets, from a quick afternoon refresh to a slightly more involved weekend project. Some require nothing more than a screwdriver and a paintbrush; others ask you to break out the staple gun. All of them share one thing in common — they turn ordinary, affordable pieces into furniture that actually fits your home and your style.
Quick answer: The most budget-friendly DIY furniture makeovers involve paint, new hardware, adhesive vinyl, cane webbing, or fabric instead of full replacement. Chalk paint on a thrifted dresser, peel-and-stick wrap on laminate, and new knobs on kitchen cabinets deliver the biggest visual change for the smallest spend. Most projects cost under $50 in materials and can be finished in a single weekend with basic tools.
1. Chalk Paint Refresh for a Thrifted Dresser
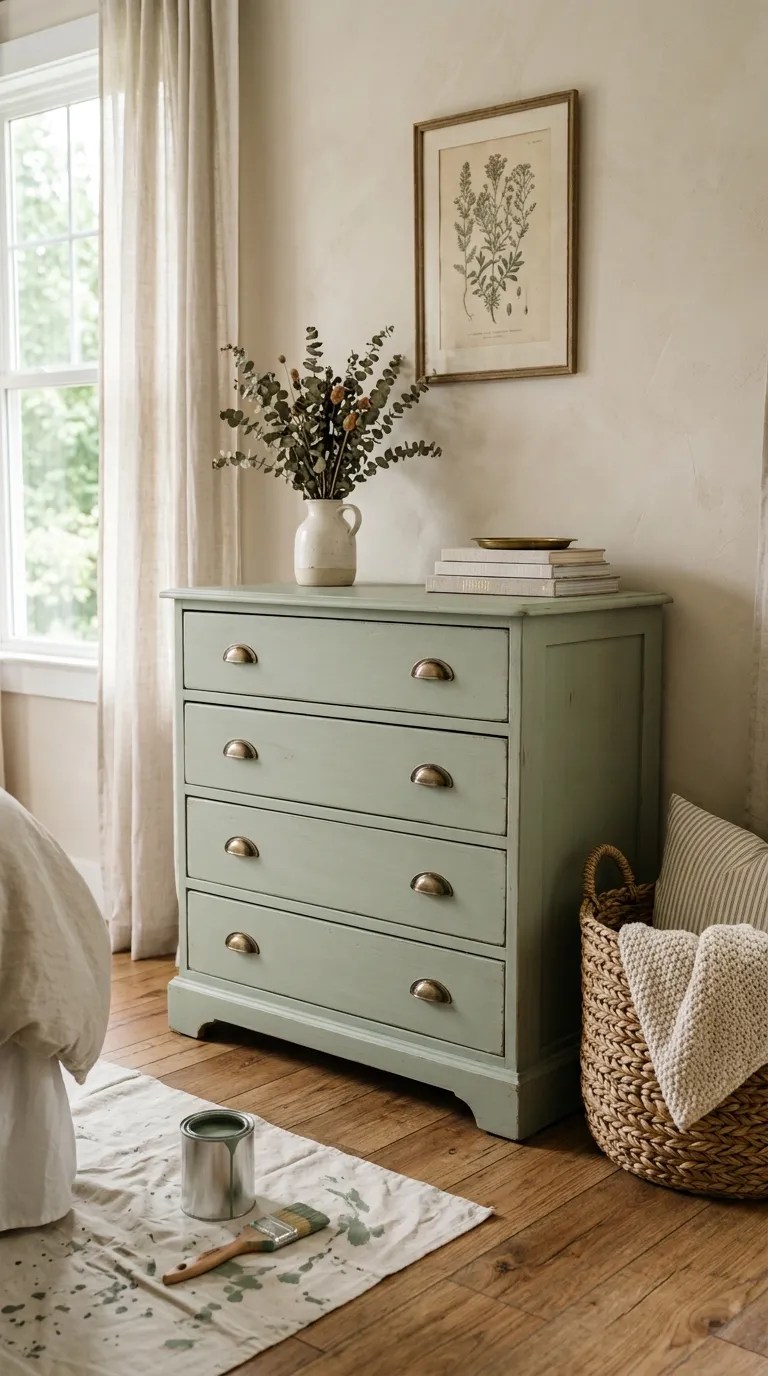
A dated dresser with good bones is the classic starting point for a furniture makeover, and chalk paint remains one of the most forgiving finishes you can use. It adheres to slick factory finishes, dries quickly, and self-levels enough that brush marks mostly disappear.
What you’ll need: a quart of chalk-style paint, a 2-inch angled brush, a small foam roller, fine-grit sanding sponge, a degreaser or mild dish soap, clear wax or a water-based topcoat, and new drawer pulls.
Start by removing the drawers and hardware, then wipe every surface with a degreaser. Kitchens and bedrooms leave behind a film of oils and lotions that will make paint crawl. Once dry, lightly scuff the surface with a fine sanding sponge — you’re not stripping the finish, just dulling the shine so the paint has something to grip.
Apply two thin coats rather than one thick one. Thin coats dry faster, level better, and resist chipping. Let each coat dry fully before adding the next. Finish with clear wax buffed to a soft sheen, or a water-based polyurethane if the piece gets heavy daily use.
Time: one weekend including dry time. Difficulty: beginner-friendly. Swap the original wood knobs for brass cup pulls, leather tabs, or matte black bar handles to shift the whole personality of the piece. If chalk paint feels too expensive, a flat interior paint in an eggshell finish mixed with a bonding primer works well on a tighter budget.
💡 Pro Tip: Paint the inside of the drawers while you’re at it. A light color makes it far easier to find things, and a quick wipe-down of the drawer runners with candle wax stops that annoying sticking.